First Steps to Organizing in Cascadin
Introduction
Your first steps to organizing in Cascadin are simple. When you create your account, you’ll have a step-by-step guide that will get you organized in no time.
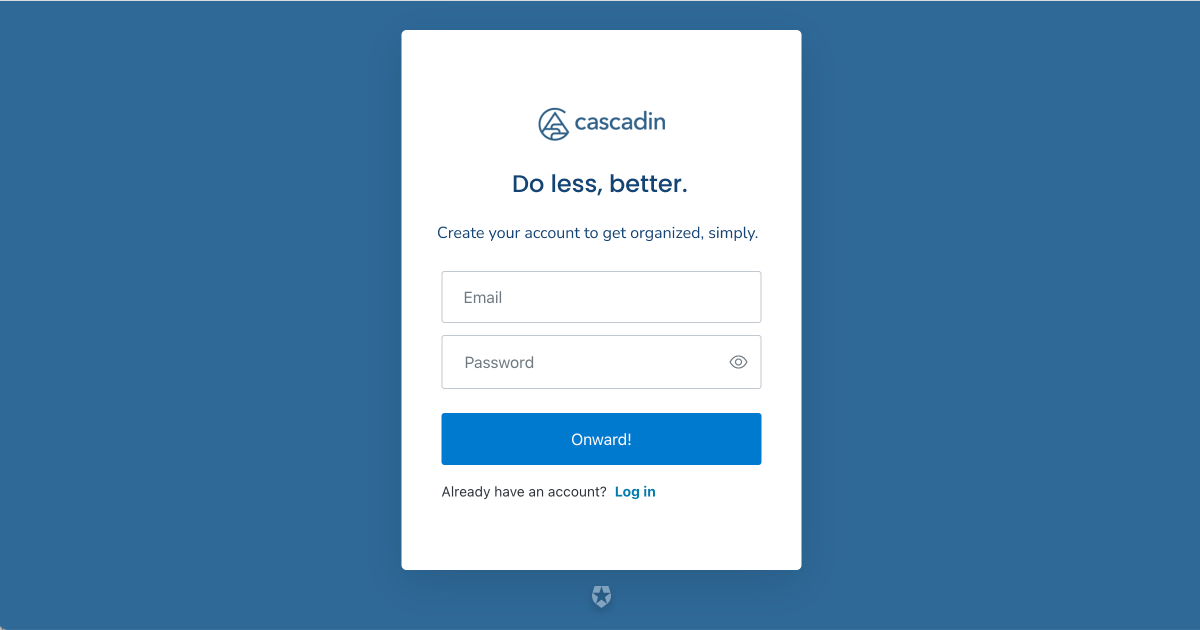
Step 1: Create your account
Visit https://app.cascadin.com/register
Enter your preferred email address and create your password.
Make sure your password meets the following requirements:
- At least 8 characters
- At least 3 of the following:
- Lower case letters (a-z)
- Upper case letters (A-Z)
- Numbers (0-9)
- Special characters (ex. !@#)
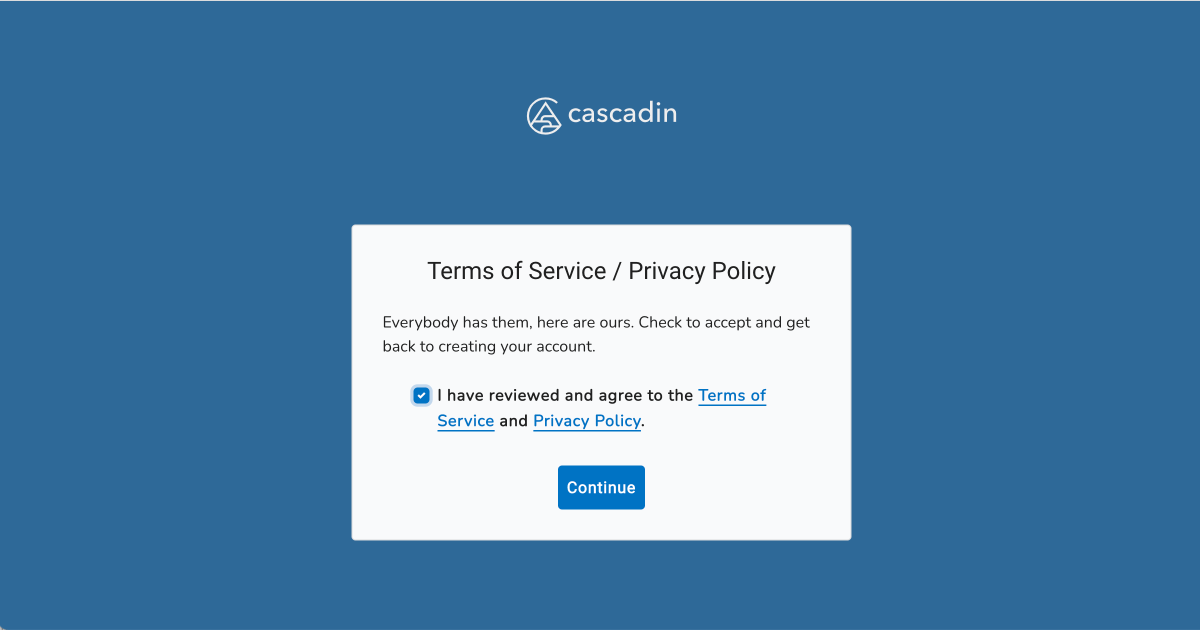
Step 2: Accept the Terms of Service and Privacy Policy
After selecting “Onward,” you’ll see a screen to accept Cascadin’s Terms of Service and Privacy Policy. Everyone has them, and these are ours.
Step 3: Verify your email
Here’s where the fun really begins! You’ll meet Kerplunk the Otter (our awesome mascot), who will guide you through the rest of the account setup.
By this stage, Kerplunk has sent you your very own verification code. Check your email, copy the code, and paste it into the verification code field in Cascadin.
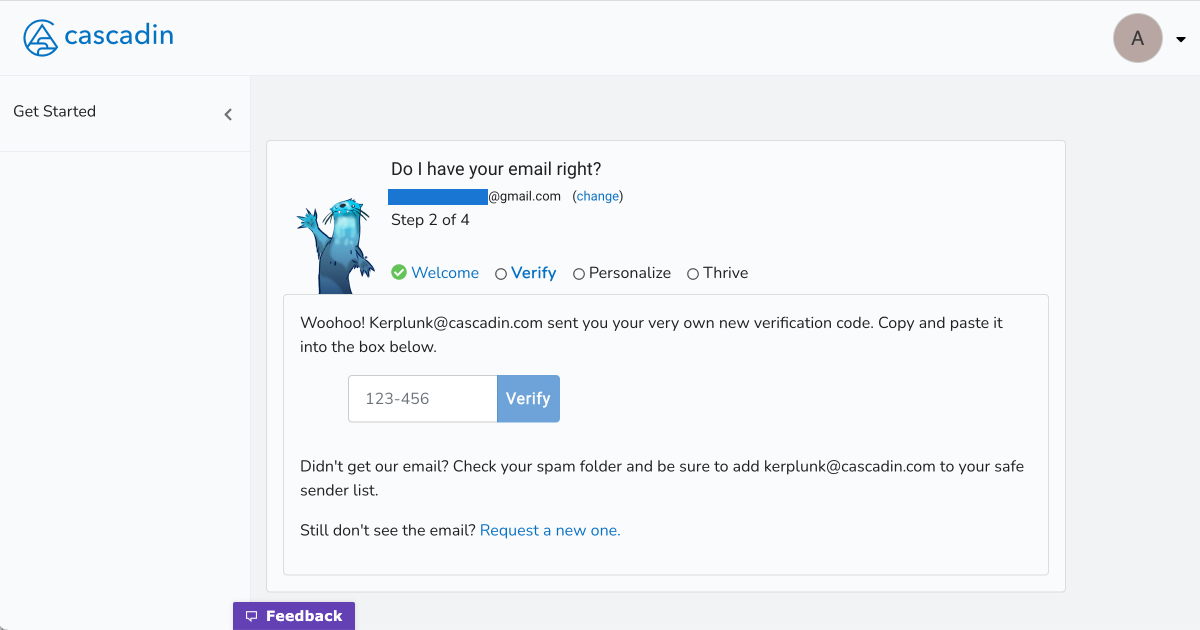
You’ll be good to go once you’ve entered the code. Be sure to add kerplunk@cascadin.com to your safe sender list. This way you won’t miss account emails in the future.
Step 4: Personalize your experience
Once you’ve verified your email, you’ll personalize your account. Kerplunk will ask you a few questions, including what he can call you, how your name displays in Cascadin, and your time zone.
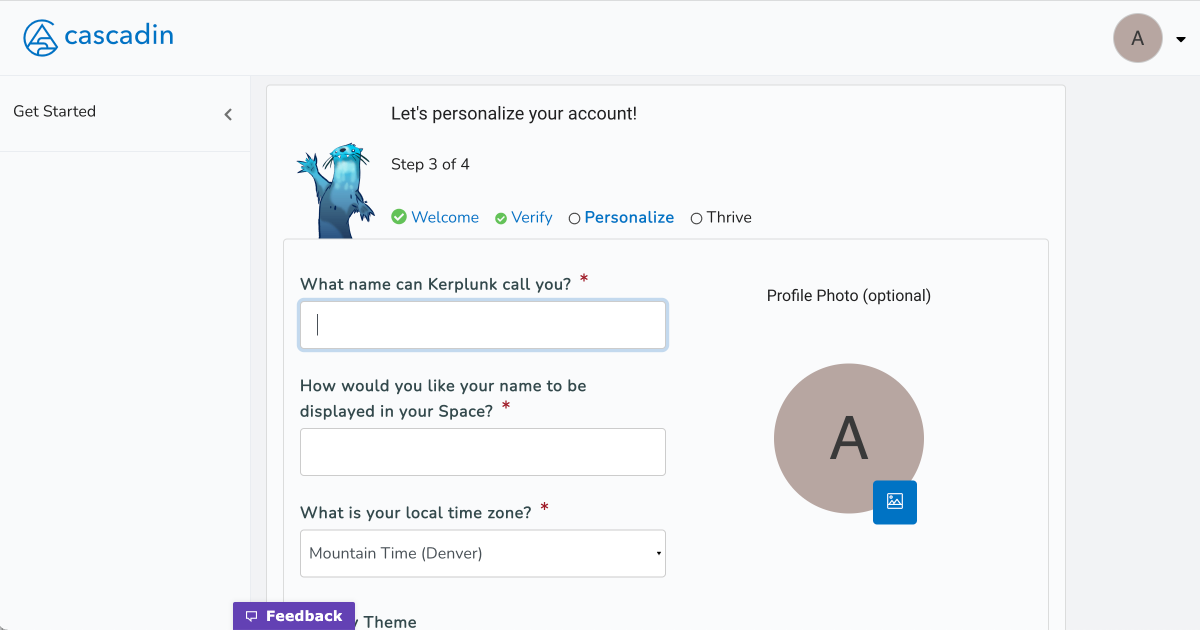
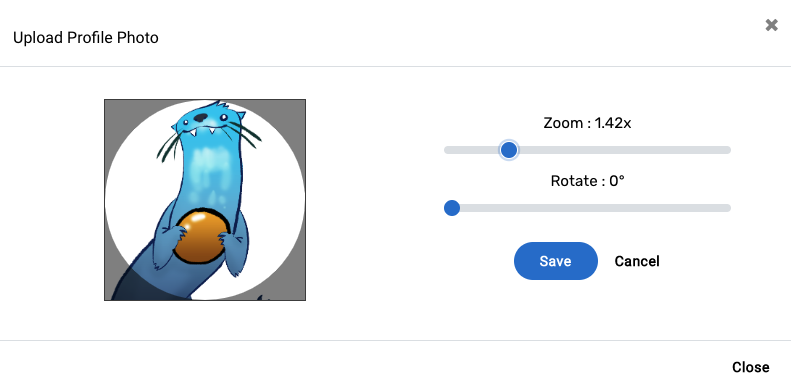
Optional: Add a profile photo
Want to really take ownership? Add a profile photo!
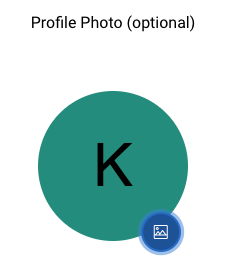

You can make adjustments to the uploaded photo by repositioning it within the frame, zooming in or out, and rotating the image.
Once you’ve finished personalizing your account, select “Onward.” You can change your account information at any time under your “Account Settings” in Cascadin.
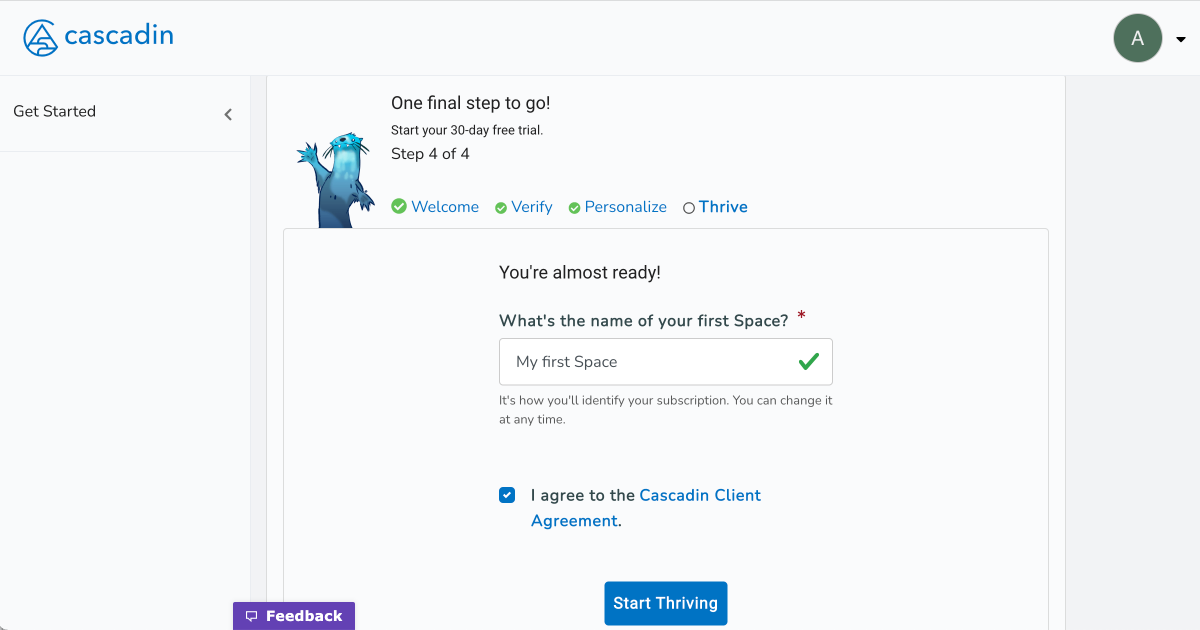
Step 5: Name your first Space
You’ve made it to the final step! Name your first Space, agree to the Cascadin Client Agreement, and get ready to do less, better.
Step 6: Take the tour
Now that you’ve personalized your account and created your first Space, Kerplunk will guide you through the basic features of Cascadin. Check out our other resources to learn more about Spaces, Projects, Tasks, To-dos, and so much more.
Learn more
After you’ve created your account, explore these resources to make the most out of your Cascadin experience: