Create a Project
Step 1: Open a new Project
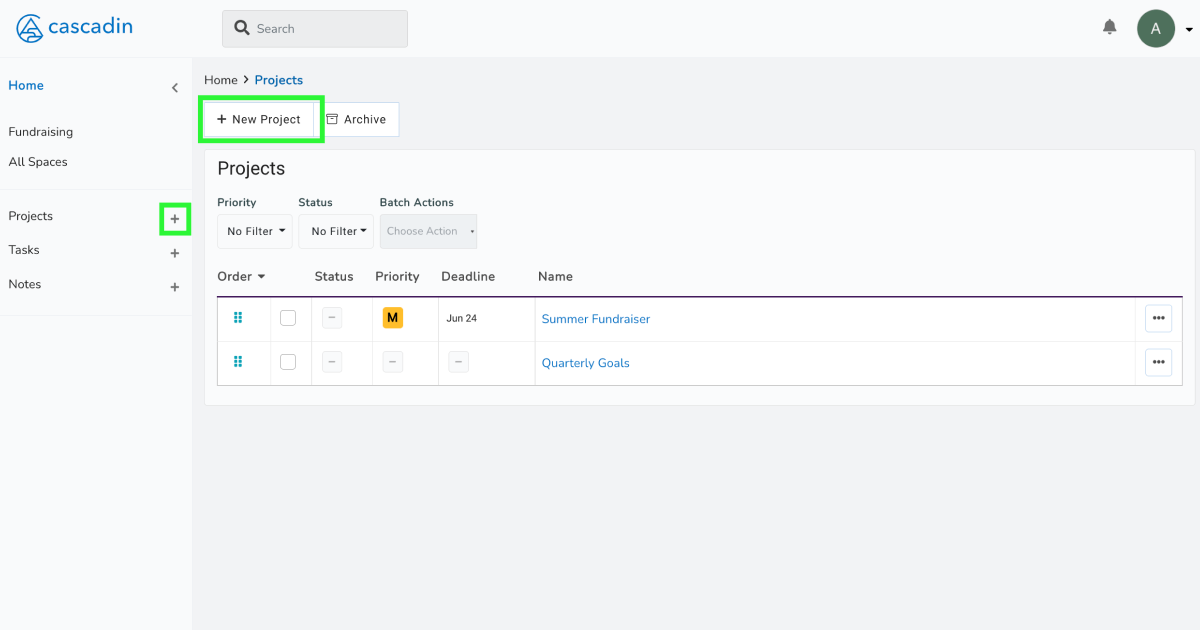
Activate the Space you want to add a new Project. Once in the active Space, you can create a new Project from two locations. From the left navigation panel, select the “+” icon next to “Projects” or from the “Projects” list view, select “+ New Project”.
Step 2: Add the Project details
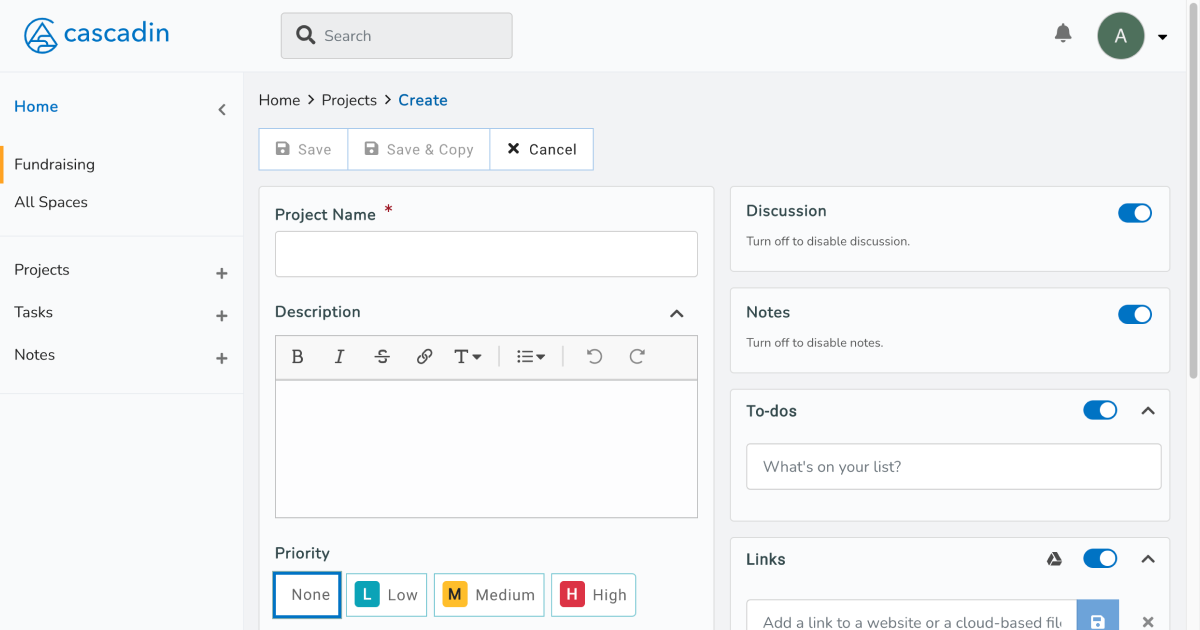
While there are many details you can add to your new Project, the only requirement is to give it a name. Pro Tip: Give the Project a name that is short but descriptive.
Optional Project details
Description
Add details in the description field to expand on this Project for yourself or your team.
Priority
To better organize your work, set a priority for this Project.

Add a deadline and set a reminder
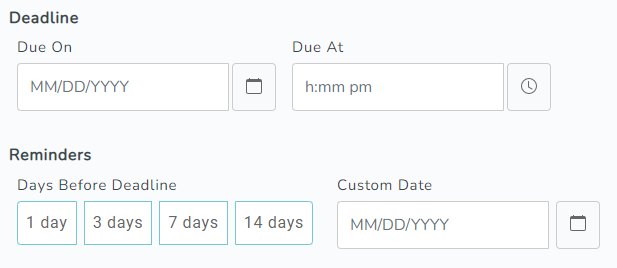
Giving your Project a deadline helps establish goals and timelines for yourself and/or your team. Adding quick reminders will help you stay on track.
Step 3: Adjust Project settings
There are a few settings that you can adjust, depending on your needs and the scope of the Project.
Turn Discussion Off
If you don’t need a discussion on this Project, toggle them off and keep your Project from getting too noisy with conversation.

Notes
If you won’t be adding Notes to this Project, toggle it off to declutter your screen.

To-dos
You can keep or remove To-dos as an option on a Project.

Links
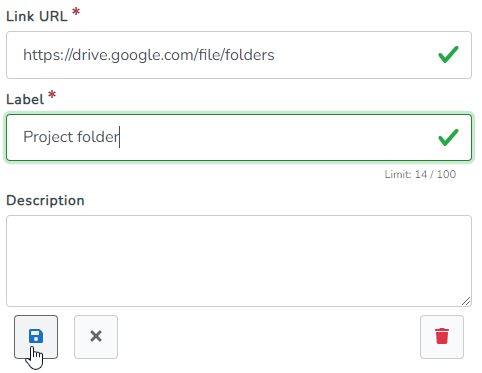
Make it easy to find and access websites or cloud-based files related to your Project. You can toggle this on or off from your Project.

Once you add a link, you can edit the display name and add a description if you need more context.
Step 4: Save your Project
Once you’ve added all the information you want to the Project, and adjusted the settings, you have two options. You can “Save” it, at which point you’ll close the form and go to your Project list. Or, you can “Save & Copy,” which will save the Project and create a copy of it. This way, if you’re working on similar Projects, you can add multiple quickly.