Adding Members to a Space
Requirements for this action
- You must be an Owner, Admin, or Manager for that Space. See more about roles for Space members.
- The target Space must be your active Space.
- You must have other members in your Workspace.
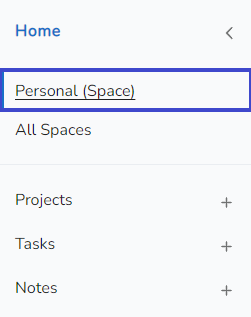
Step 1: Go to the Space’s profile
Click on the link to your active Space in your navigation bar.
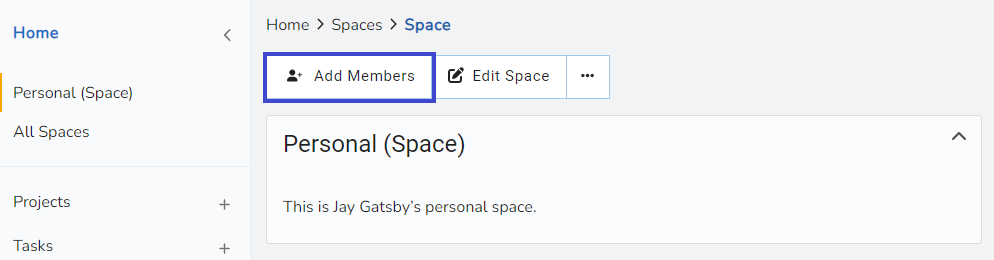
Step 2: Go to Add Members
Click on the “Add Members” button.
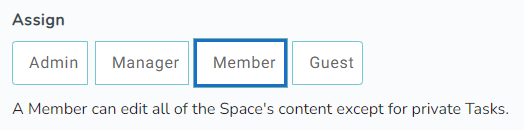
Step 3: Assign a Role
This role will be assigned to the new members you add. You can always reassign members to another role afterwards. A brief description of the role will be displayed below it to help guide you. As a default, new members are given the “Member” role.
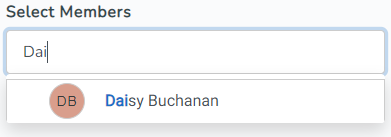
Step 4: Search for member(s)
The up to 5 members of your workspace will be displayed for you to choose from.
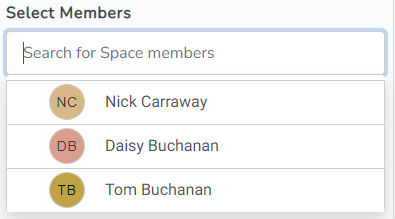
You may type in the text input field to filter to a specific member.
Step 5: Select the member(s)
Selected members will have a checkmark to the left of their avatar in the list.
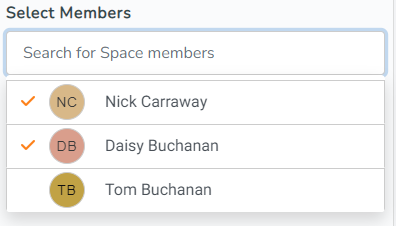
Their name will appear in a cancelable list below.

Step 6: Save your additions
Once you’ve selected all the members you would like to add, select “Save” at the bottom of the screen. The new members will be added to your Space and they will be notified in Cascadin.