Create a Note
Step 1: Create a Note
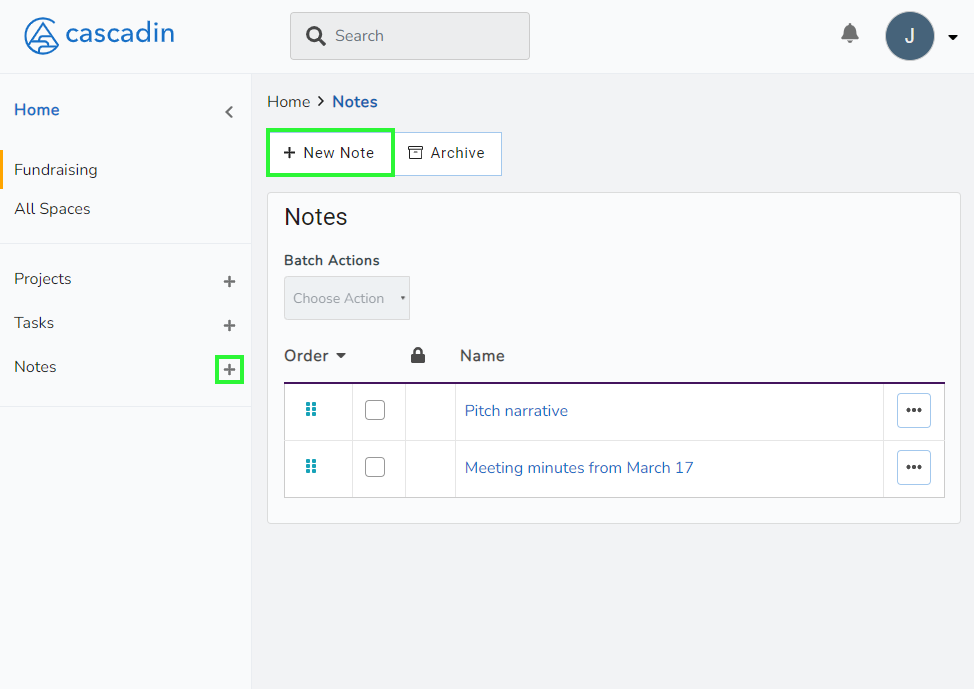
Notes can be created independent of any Task or Project by selecting the “+” icon next to Notes in the left navigation panel.
Notes can also be created directly from a Task or Project.
Step 2: Name the Note
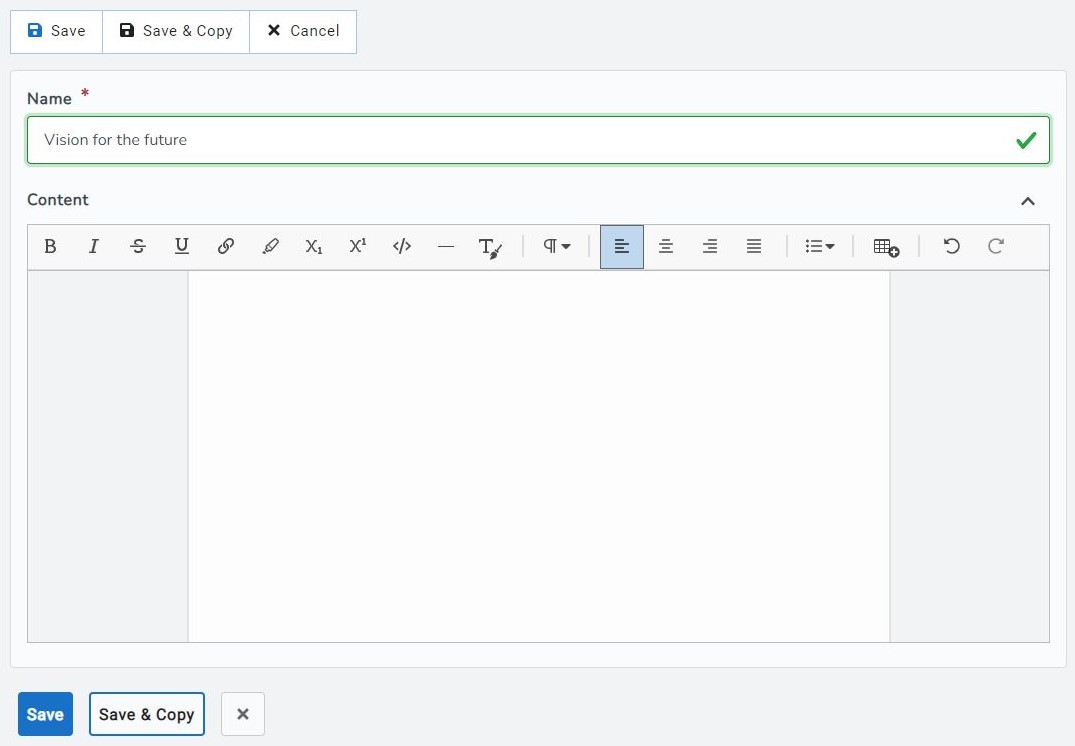
Like Projects and Tasks, the only requirement for creating a new Note is to give it a name.
Step 3: Optional formatting in Notes
The Cascadin text editor gives you a lot of options for formatting your Notes.
Text options
You can format your text as bold, italics, strikethrough, underline, subscript, superscript, and even highlighted.
Additionally, you can format text like paragraphs, header 2, header 3, and header 4.
Special Formats
Blockquotes
If you’re inserting information from another source, you might consider using the Blockquote option.
Lists
You can have three different types of lists to your text field.
- Bullet List
- Ordered/Numbered List
- Checklist
Tables
In Notes, the text editor has a table feature. You can format the table to meet your needs, adding or removing columns and rows.
Technical Formats
For technical Notes, you can enter code or code blocks to document your work.
- Code
- Code blocks
Step 4: Save your Note
Once you’ve added all the information you want to the Note, you have two options. You can “Save” it, at which point you’ll close the form and go to your Notes list. Or, you can “Save & Copy,” which will save the Note and create a copy of it. This way, if you’re working on similar Notes, you can add multiple quickly.